For this project we were given metal as our materials and taught how to weld and use other various cutting tools for metal. The class was assigned the word "precarious" for the making of this project.
I looked up the definition on dictionary.com:
precarious: dependent on circumstances beyond one's control; uncertain; unstable; insecure
I also looked at google images and most of the images were of people and houses balancing on unstable large rocks and other things found in nature.
There is a tree that is across the street from my house that also looks precarious in that its weight seems to be leaning all to one side yet it is still standing. This tree somewhat inspired my sculpture.
Thursday, May 12, 2011
Laser Project
For this project, we were told to make a sculpture using the laser cutter. To do this we had to create an image using Adobe Illustrator. The image I created on Adobe Illustrator is made up of lines using the arches tool. All of these arched lines were placed randomly and connected to each other at their ends. I am unable to upload the image but you can see part of it in the end result. My original idea was to make a sculpture that hung close to a wall with a light behind it.
I chose to fabric to use on the laser cutter because I knew I wanted to sculpture to be flexible and lightweight. I bought canvas from Hancock Fabrics because it seemed thick enough to etch an image into. To fit the space in the laser cutter, I had to cut the fabric and the image into four sections. After etching the image onto the fabric, I connected the four panels back together by ironing them on to interfacing. I chose to use interfacing rather than sewing the pieces together because I wanted the image to be as flat as possible and the lines to match up.
After I had to pieces together I wanted to take advantage of the flexibility of the fabric and the lights that were already in the room and decided to make a sculpture that could hang from the lights. The plan was to use grommets, to put sturdy holes in the fabric, dowel rods that I would put through the holes to hold the fabric spread out enough so that the image could be seen, and string to tie to the rods and hang from the lights. When I was ready to hang the sculpture I decided not to use the string but put the dowel rods over the lights and use them to hang the fabric as well.
Wednesday, May 4, 2011
Monday, February 21, 2011
Presentation of 1st Project
My plans for the presentation of this project are to make a QR code with the puzzle boxes without the lids. A QR Code is a specific kind of barcode that can be scanned using a smartphone's camera. If someone were to take a picture of the sculpture, the code will send them to autismspeaks.org. The reason why I chose this website is because I am using puzzle boxes to make the sculpture and the symbol or logo for Autism Speaks is a puzzle piece.
Sunday, January 30, 2011
Ideas for Project #1: Multiples
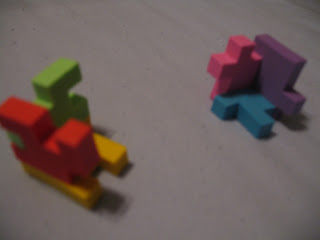
Above are a couple of objects (a maraca-left, an eraser puzzle box- right) I'm considering using for the multiples project. I am still deciding how I want to make the molds and what I could use these objects for if I had a lot of them. Here are a few ideas:

These would just be halves of the eraser puzzle boxes that can be put together.

Or a piece of the box could serve as a lid. Either way these boxes could hold something...a marble or a fortune from a fortune cookie that one might like to keep.

These are just a couple drawn out ideas of what I could do with the maracas. The top drawing would basically just be a bouquet of quiet maracas and the second are maracas stacked on top of each other. Hopefully I can come up with more ideas later.
Subscribe to:
Comments (Atom)


